

Morning! Morning! Morning!
:D
No, I'm not really a morning person,
but today is the first day of school!
YAY FOR QUIET AND SOLITUDE!!!!
Anyhoo...
Today is Day 3 of Fancifying Your Blog!
You can find Part 1 HERE and Part 2 HERE
Today we're going to do the final editing of your completed header and insert it into your blog.
Yippee!
Ready?
Let's go!
The first thing we're going to do is go back in to PicMonkey.
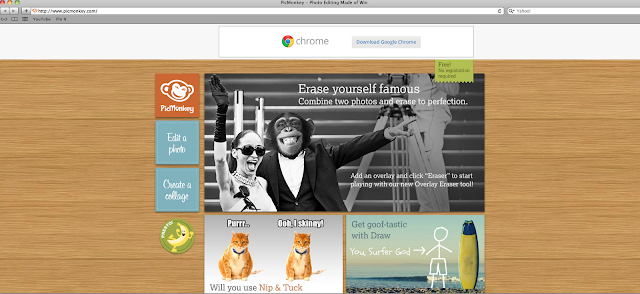
Are you tired of PicMonkey yet?
LOL!
We're almost done with it, I promise!
Go ahead and click "Edit a Photo".
Upload your collage that you created yesterday in Picasa.
The first thing you're going to do is click "Crop".
Next you're going to resize your crop box
by clicking and dragging with your mouse.
You want your crop box to be a tiny bit bigger
than your header is wide and long.
Like this:
Once it looks like that, click "Apply".
Your header should now look like this:
Next, you're going to select "Rotate".
Rotate your image so it's right side up.
It should now look like this:
Select "Apply".
Next, you're going to click on "Resize".
Uncheck the "Keep Proportions" box.
Change the image size to: 960 x 369.
Click "Apply".
Your header should now look like this:
You are officially done with PicMonkey.
Woo-Hoo!
Go ahead and save your picture
to your photo file on your computer.
I saved mine as, "New Blog Header".
Works for me.
;)
Okay...
Are you ready to install your new header
on your blog?
Alrighty then...
Go ahead and open up your blog.
You already know to click on "Design", so do that.
You'll be on the Template panel, right?
Next, click on the "Layout" icon.
It is just above the "Template" icon on the left side of the page.
It will take you to your Layout Control Panel.
Then, click "Edit" on the "Header" box.
This little box will come up:
As you can see, my image is already my header.
Yeah.
Not messing with it.
Even to teach y'all.
LOL!
But, what you're going to do is upload your new blog header
to replace your current image.
Click "Remove Image".
Then upload your image.
And where it says placement?
Select "Instead of title and description".
You don't need the title and description
because it's already in your blog header, right?
Right.
So do that and select "Save".
Okay...
Troubleshooting.
Now some of you might be told that you don't have enough available storage space to upload the photo.
Yeah.
Did that to me too, on my old blog.
Don't think you can go in and just delete a whole bunch of your pictures to make more room.
You can't.
Otherwise you'll have big ugly black boxes on your old posts and you still won't have enough space.
Been there, done that, didn't work.
See...
Go ahead and rail about the injustice of a "free" blog,
not really being free.
Pout a little.
Then go get your credit card.
Get over it and just upgrade your account.
Google likes to stick it to you that way.
For $5.00, you can have a new header.
Just do it.
If you need to upgrade your photo storage capacity,
just jump through all their hoops and then come back to your layout page
to upload your new header like I outlined above.
So now we're going back to selecting "Save".
Next, click "Preview" on your Layout Control Panel page.
Now ideally, you want your header
to be the same width as your blog.
Mine is the tiniest bit short, but what the hay.
I don't care.
LOL!
If you're satisfied with yours,
woo-hoo, you're done!
Doesn't it look great?!
If not...
I feel your pain.
Been there too.
Kicking the computer won't make you feel better.
;)
Continue below:
You're going to need to go back into your Design Control panel and adjust your widths until it's all aligned properly.
If that's the case, click on "Template".
Then click on "Customize".
That's the little orange button
under your "Live on Blog" picture.
That will take you to this page:
Next, you're going to click on "Adjust Widths".
And then you just move those little slider switches back and forth for your main blog and sidebars until it looks right.
As you move them, the example of your blog underneath will change, so you can see what it looks like.
When you get it the way you want it,
click "Apply to Blog" and you are officially done.
YIPPEE!
Aren't you glad we're done?
And that's your assignment for tonight.
Your blog header is going to look beautiful!
Do you want to keep going with your blog makeover?
Okay...
Tomorrow we're going to tackle
sidebar headers, like these:
And a warning...
HTML codes are the devil, but totally worth it!
We're going to make your sidebar headers all fancified
and not just the same script as the rest of your blog.
If you want to be a little ahead of the curve and
get a little extra credit, open up a Photobucket account.
;)
See y'all bright and early tomorrow!
Dream Big,

I love this, but even better I love my new header!!
ReplyDelete